
Jeans Stitch Effect
Open
a document in Photoshop 800 x 500 px white

Again Filter – Filter
Gallery- Artistic – Smudge Stick

Filter
– Filter Gallery – Texture - Grain

Duplicate
Background Layer and close the copy

Select
Background Layer

Set
the Foreground color to white
I
used Grobold font

If
the letters are too close

Make
the Background Copy layer visible

Select
– Modify – Expand By 6

Select
Background Copy Layer

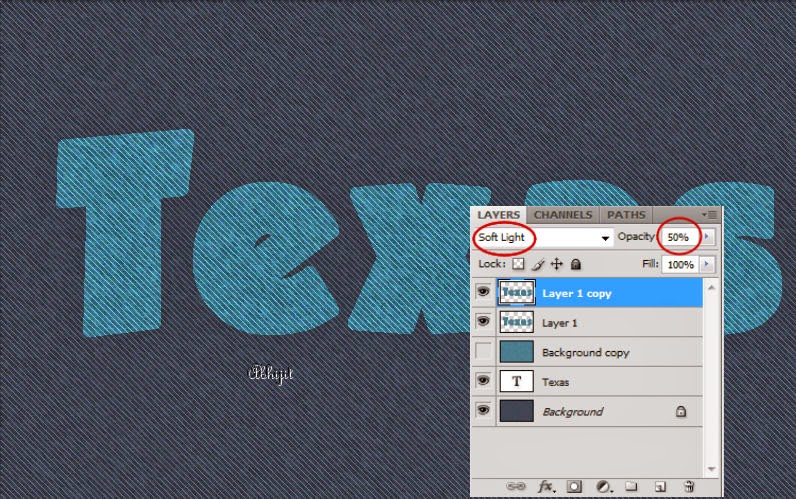
Duplicate
Layer 1, Change Blend Mode to Soft light
Select
Text Layer. Press Ctrl and Click on T to select

Right
Click on Text Layer and

Click
on Brush in the Tool Bar

Click
on shape Dynamics, adjust like this

Add
a new layer at the top

Hit
Enter to remove Path

Add
some Layer Style
Drop
Shadow

Inner
Shadow

Outer
Glow

Bevel
and Emboss

Contour
by Default

You will get this

You
may STOP here or do something more
Press
Ctrl and click on thumbnail of Layer 1 Copy

Window
– Brush and select Dune Grass

Open
the picture in Photoshop

Click
Brush on Tool Bar
Brush
Tip Shape

Shape
Dynamics

Scattering

Color
Dynamics

Right
Click on Text Layer – Create Work Path

Foreground
color 7fb6ca, Background color 21576c

Another Example

Set
the Foreground color to white
Window
– Character, Size 230 pt, Tracking Value 70
I
used Grobold font
No comments:
Post a Comment