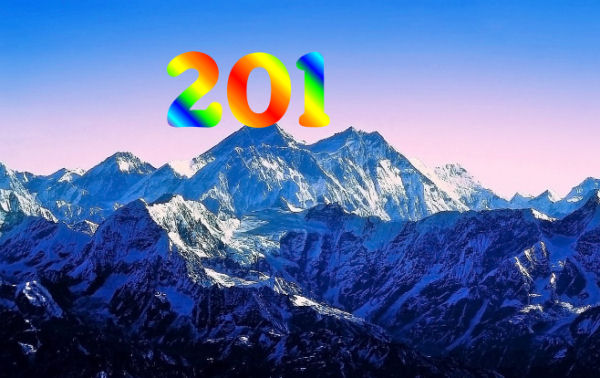
New Year e-card
Collect
a JPEG picture of mountain
Edit
- Copy
Open
a new document in PSP 670 x 430 transparent
Selections
– Select All
Edit
– Paste – Paste into Selection
Pick
Freehand Selection Tool – Point to Point
Select this portion carefully
Selections
– Promote Selection to layer
Selections
– Select None
Rename
this Layer Sky 1
Duplicate
this layer & rename Sky 2
Close
these 2 layers
Select
the top layer
Layers
– New Raster Layer
Write
201 with a Gradient of your choice
Rename
the Layer ‘201’
Layers
– New Raster Layer
Write
5 with same font, size & gradient
Place
it after 201 so that it looks like 2015
Rename
this layer ‘5’
Duplicate
the layer several times
Duplicate
from original
Do
not duplicate from duplicate
Select
the first layer of 5
Image
– rotate – Free Rotate – Right 20
With
Raster Deform Tool move it
To the right and below a little
Select
the second layer of 5
Again
rotate Right, this time 40
Like
this select 3rd, 4th, 5th …… layers
Rotate
right, each layer add 20
Such
as 60, 80, 100, 120 …….
Until it looks like 5 is disappearing below
Close
all the layers except the layer 201 & background
Layers
– New Raster Layer
Write
6 with same font, size & gradient
Place
it after 201 so that it looks like 2016
Rename
this layer ‘6’
Select
the top layer
Layers
– New Raster Layer
Write
Happy New Year
Font,
color & size is your choice
If
you want to do like me
Dose
it like this
I
used Almonte Snow font, available at dafont.com
Select
Magic Wand Tool
Tolerance
& Feather 0
Click
on the first gap in H
Then
press ‘Shift’ and click all the gaps
Keep the selections
Layers
– New Raster Layer
Layers
– Arrange – Move Down
Select
this blank layer
Foreground
color white (FFFFFF)
With Flood Fill Tool Paint the inside
Selections
– Select None
Layers
– Merge – Merge Down
Select
Sky 1 layer
Click
in the little arrow in the right side of layer
Change
Sky 1 to Soft Light and
Sly
2 to Difference
It will make the sky black
Now
Animation
Open
background, layer 201, layer 5, Sky 1 and Sky 2
Open
& close duplicates of layer 5, one by one
Edit
– Copy Merged
Paste
in Animation Shop – After Current Frame
When
5 disappear, open layer 6
Now
you have to work both layer 5 & sky 2
at
the same time
Right
click on Sky 2 layer – Properties
Change
it to 95
Right
click on layer 6 – Properties
Change
it to 5
Edit
- Copy Merged
Paste
in Animation Shop – After Current Frame
Like
this decrees the Sky 2 layer by 5 each time
Like
95, 90, 85 …. 10, 5, 0
At
the same time increase Layer 6 by 5 each time
Like
5, 10, 15 …. 90, 95 100
Always,
Edit - Copy Merged
Paste
in Animation Shop – After Current Frame
When
Sky 2 and layer 6 reaches
0
and 100 simultaneously
Open
Text Layer
Timing
All
frames of layer 5 – 10
After
that all frames – 150
Last frame (text) - 500


This tutorial is awesome!!!I'll try it at Home,nd send it to my friends...pls tell me which version of photoshop u've used,CS5 or CS6???
ReplyDeleteCS4 is enough. You can do it in Photoshop.
DeleteBut here it is done in Paintshop Pro 9 and Animation Shop.
If you want I'll tell you how to do it in Photoshop.
And thank you.